260
260
Subject: UTY-RSRY Remote Control sensor activation
Discussion:
Default temperature sensing for all Airstage H, J and V Series systems is from the return air temperature
sensor within the indoor unit. When desired, the room temperature sensor internal to the UTY-RSRY Fujitsu
Remote Control can be activated to sense temperature at the Remote instead of the return air.
In order to activate the sensor in the Remote Control, Item Number 07 within the MENU SETTINGS must be
accessed and changed. This document provides an overview of how to activate the Remote Controller
sensor, please also refer to the UTY-RSRY Installation Instructions for complete details
Directions:
Steps 1 — 8: Unlock the Remote Controller internal sensor.
NOTE: If you are working with Airstage J-Series or V-Series systems, proceed directly to Step 9:
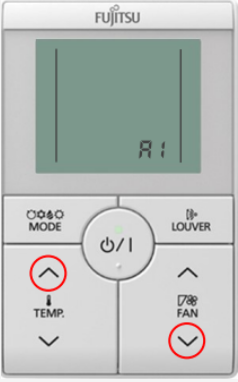
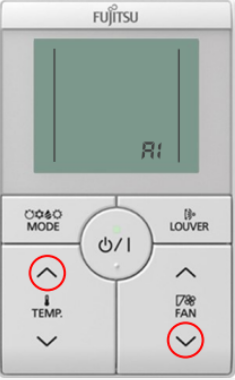
1. From the monitor screen, press and HOLD the
FAN down and TEMP up arrows simultaneously
until A1 is displayed:
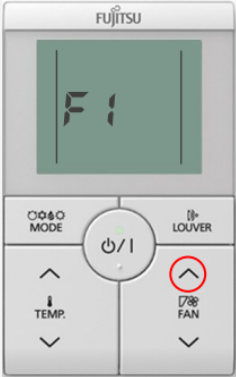
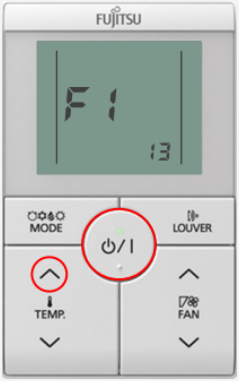
2. When A1 flashes, press and HOLD the FAN up
arrow until F1 is displayed for the Initial Settings
mode:
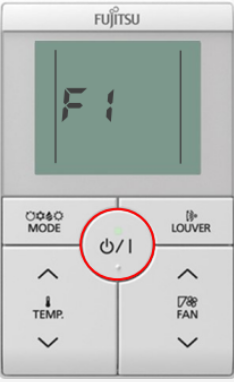
3. With F1 flashing, press the START/STOP button
to access the Initial Settings menu:
4. Access the Function Settings menu by using the
TEMP up arrow, and scroll to item setting 13.
When item setting 13 is flashing, press the START/
STOP button to enter the Function Settings Menu:
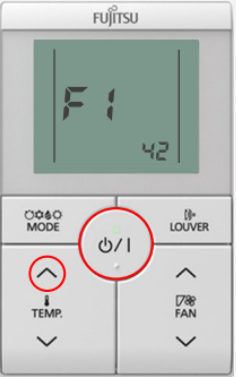
5. Use the TEMP up arrow to scroll to function
setting 42. Press the START/STOP button to open
the function setting option selection.
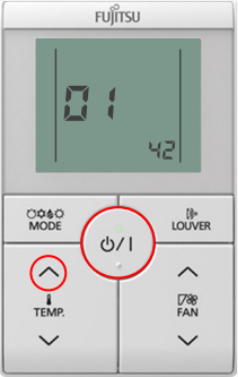
6. Use the TEMP up arrow to adjust the default
setting option from 00 to 01. Press the START/STOP
button to assign the setting option.
Note: Remote controller address “002” does not need to be changed. Press the
START/STOP button to proceed to function setting adjustment
7. IMPORTANT- Repeat Step 5 and 6 to adjust function setting 48 to setting value to 01.
8. IMPORTANT- Cycle power for AT LEAST 2 MINUTES to write the function setting values.
Steps 9 — 12: Activate the Remote Controller internal sensor.
9. From the monitor screen, press and HOLD the
FAN down and TEMP up arrows simultaneously
until A1 is displayed:
10. When A1 flashes, press and HOLD the FAN up
arrow until F1 is displayed for the Initial Settings
mode:
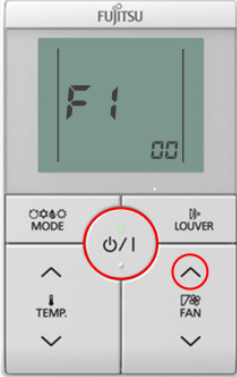
11. Use the TEMP up arrow to scroll to function
setting 07. Press the START/STOP button.
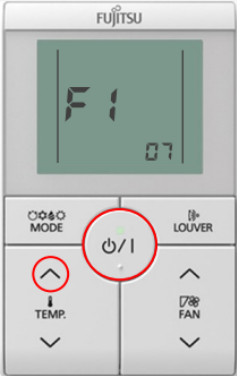
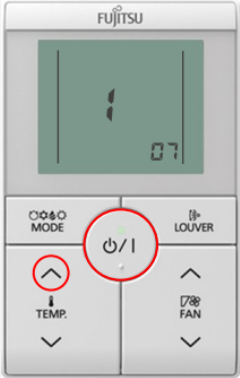
12. Use the TEMP up arrow to adjust setting option
to 01. Press the START/STOP button to assign the
value.
Confirm function setting option
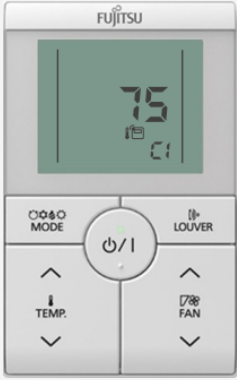
13. Press and HOLD the TEMP down and FAN up
arrows simultaneously to enter the Confirmation
C1 menu:
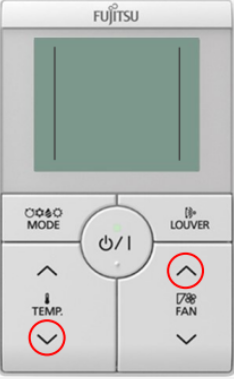
14. The Remote Control sensor icon should be
displayed to confirm the function setting change
from Steps 11 & 12.